Crafting elevated structures within living areas can enhance both functionality and aesthetic appeal. These designs not only serve as practical additions but also contribute to the overall atmosphere of a room. The process involves careful planning, skillful construction, and attention to detail to ensure a seamless integration with existing elements.
In the following sections, you will discover a comprehensive approach to navigating this project with ease and confidence. From the initial conceptualization to the final touches, each phase plays a pivotal role in achieving a polished and safe product. With the right tools and materials at hand, even those new to this craft can successfully embark on this rewarding endeavor.
By utilizing clear instructions, helpful tips, and clever techniques, you will be equipped to create tailored platforms that meet your specific needs. Emphasizing creativity and practicality, this journey will not only enrich your skills but also result in a beautiful addition to your space.
Choosing the Right Materials for Stairs
Selecting appropriate components for your constructed elevation is crucial for functionality and aesthetic appeal. The choice of substances directly impacts durability, safety, and design, making it essential to evaluate various options before proceeding.
Common materials utilized in such constructions include wood, metal, and composite substances. Each offers distinct advantages and considerations that can affect the overall outcome.
|
Material |
Benefits |
Considerations |
|---|---|---|
|
Wood |
Warmth and natural aesthetics; easy to work with |
Susceptible to wear; may require maintenance |
|
Metal |
Strong and durable; modern appearance |
Can be cold and uninviting; may require special tools for installation |
|
Composite |
Resistant to moisture and pests; low maintenance |
Can be less stable than natural wood; might not fit traditional designs |
Ultimately, the choice of materials should reflect both functional requirements and personal style, ensuring that the final structure harmonizes with the overall environment while providing usability and safety.
Measuring Space for Your Staircase
Accurate assessment of the available area is crucial when considering the installation of a structure connecting different levels. Establishing precise dimensions ensures the design will fit harmoniously within the existing layout while providing safety and functionality.
Begin by determining both the height and width of the designated zone. Measure the total vertical distance from the lower to the upper level, then assess the horizontal space available for the tread and landing. Ensuring sufficient headroom is important to prevent any discomfort when using the structure.
Utilizing a level can enhance measurement accuracy, ensuring that the surface is even. Create a clear outline of the desired path by marking the intended locations of the supporting elements. This visual reference aids in preventing potential obstructions and allows for better visual planning.
Consider nearby elements, such as walls, doors, or furniture, which may influence the pathway. Keep in mind any local building codes that may impact the dimensions and design, ensuring compliance and safety standards are met. Thorough planning and precise measurement lay the foundation for a successful addition to any space.
Design Considerations for Home Stairs
When planning an ascent structure within a residence, it is essential to contemplate various factors that influence both functionality and aesthetic appeal. These aspects not only enhance the overall ambiance but also ensure safety and comfort for all users. A well-thought-out design incorporates considerations such as dimensions, materials, and the intended purpose of the climb.
Safety and Accessibility
Security plays a crucial role in the design of any ascent structure. It is vital to adhere to standard measurements, ensuring that treads and risers are comfortable for daily use. Additionally, incorporating handrails at the appropriate height enhances safety, especially for individuals with mobility challenges. Accessibility should be a primary concern to accommodate everyone effectively.
Aesthetic Integration
Alongside safety, the visual aspect of the ascent structure significantly impacts the overall design of a space. Selecting materials and styles that harmonize with existing decor enhances the beauty of the residence. Consideration for color schemes, textures, and patterns allows for a cohesive look that feels intentional and polished.
Tools Required for Stair Construction
Undertaking a construction project necessitates a variety of instruments and equipment to ensure precision and safety. Selecting the appropriate tools is vital for achieving the desired outcome. Familiarity with each tool’s purpose and use will enhance the overall efficiency and effectiveness of the task at hand.
Essential Tools
To commence the process, certain basic tools will serve as the foundation for your undertaking. These may include:
-
Measuring tape: Critical for acquiring accurate dimensions.
-
Level: Ensures that every component is even and stable.
-
Square: Aids in creating right angles for optimal alignment.
-
Saw: Essential for cutting materials to the specified lengths.
Additional Equipment
In addition to the essentials, advanced tools will further facilitate the process. Consider incorporating:
-
Drill: Useful for creating holes and securing components together.
-
Clamps: Holds pieces in place while adhesive or screws are applied.
-
Safety gear: Includes goggles and gloves to protect against injuries.
-
Sandpaper: Essential for smoothing any rough edges after cuts.
Equipping yourself with the right array of tools not only enhances the quality of construction but also ensures the project unfolds smoothly and safely.
Step-by-Step Assembly Process Explained
Creating an elevated structure within your space can be a rewarding endeavor. This segment delves into the systematic approach necessary for a successful construction, ensuring clarity and efficiency throughout each phase. Understanding the sequence of actions will not only simplify the task but also enhance the overall quality of the finished product.
Materials and Tools Needed
Before embarking on the assembly journey, it is crucial to gather all required components and instruments. Below is a list of essentials to prepare:
|
Materials |
Quantity |
|---|---|
|
Wood planks |
6 |
|
Screws |
20 |
|
Wood glue |
1 bottle |
|
Sandpaper |
1 pack |
|
Paint or finish |
1 can |
Assembly Process
Commencing with the initial layout is vital. Accurately measure and mark the locations where the elements will be affixed. Follow the outlined procedures for a precise and stable assembly:
-
Cut the wood according to the predetermined dimensions.
-
Assemble the base by securing the planks with screws.
-
Attach the vertical supports firmly to the base.
-
Install the steps, ensuring they are leveled and spaced evenly.
-
Apply wood glue to reinforce the joints.
-
Sand the surfaces to achieve a smooth finish.
-
Finally, apply paint or finish to protect the wood and enhance aesthetics.
Adhering to these organized stages will facilitate a streamlined construction process, resulting in a functional and attractive structure tailored to your needs.
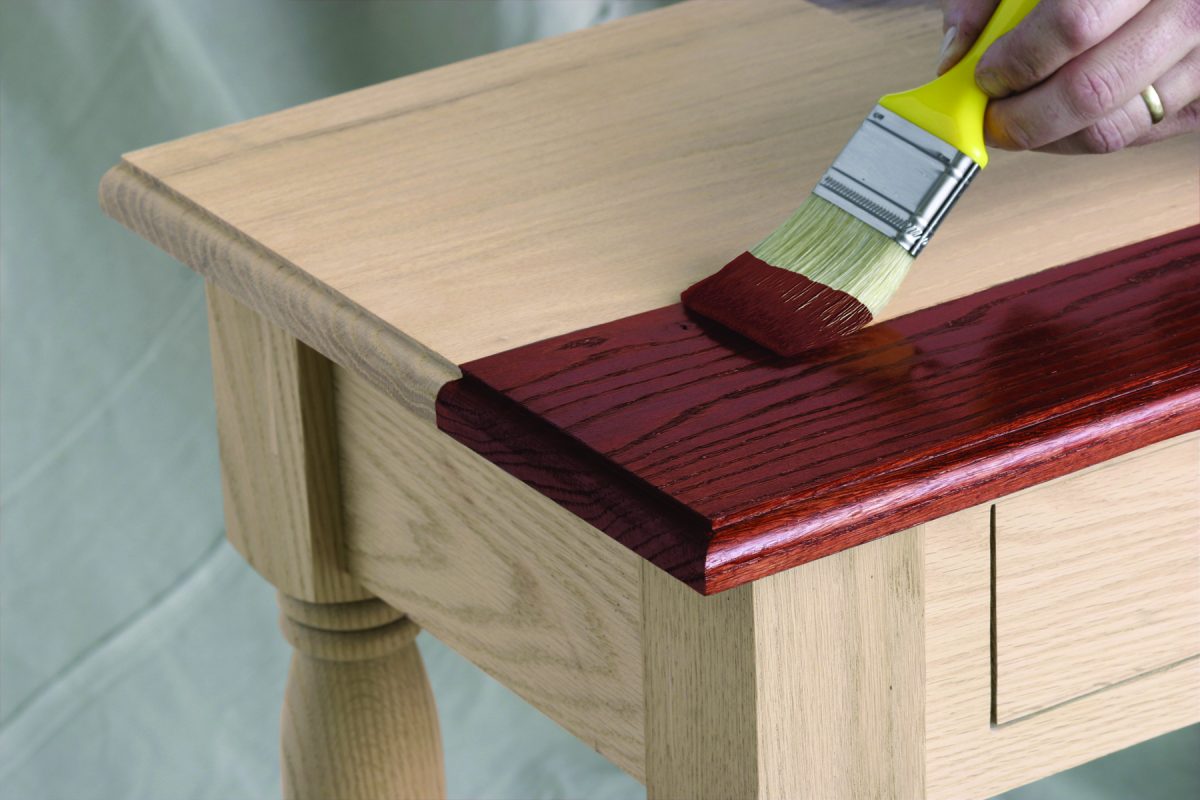
Finishing Touches and Safety Tips
Adding the final details and ensuring safety measures are crucial elements of any construction project. Achieving a polished look, along with guaranteeing a secure experience for users, is essential for overall satisfaction and functionality.
Final Details
Once the structure is in place, consider applying a protective finish such as paint, varnish, or stain. This not only enhances visual appeal but also protects the material from wear and tear. Ensure all surfaces are smooth and free of sharp edges to prevent injuries. Additionally, installing non-slip grip tape or textured materials can greatly improve traction, especially in high-traffic areas.
Safety Considerations
Prioritize safety by verifying that all components are sturdy and well attached. Regular checks for stability and wear are necessary to maintain a secure environment. Emphasize the importance of using the feature correctly, educating users about best practices. In case of children or pets, consider using barriers or gates to prevent access when necessary, ensuring peace of mind for all residents.
Q&A: Home furniture how build stairs
What materials do I need to build stairs for my home furniture?
To build stairs for your home furniture, you will typically need wood (such as plywood or dimensional lumber) for the steps and risers, screws or nails for assembly, sandpaper for smoothing the surfaces, and wood glue for added strength. You may also consider varnish or paint for finishing, and a measuring tape, saw, drill, and level for the construction process.
How do I determine the right height and width for each step?
The right height for each step is usually between 6 to 8 inches, while the step tread (the part you step on) should be at least 10 to 12 inches wide for comfort. To calculate the total number of steps, measure the vertical distance from the floor to the top of the furniture and divide this by your chosen step height. For stability and safety, ensure all steps are consistent in size.
Can you explain the step-by-step process for building stairs for a bookshelf?
Certainly! First, measure the height you need the stairs to reach and determine how many steps you’ll need based on your desired height per step. Next, cut your wood pieces: one for the risers (vertical parts) and one for the treads (horizontal parts). Assemble the frame, attaching the risers to the treads using screws. Once assembled, sand the edges to prevent splinters and finish with paint or varnish. Finally, securely attach the stairs to the bookshelf, ensuring everything is stable.
What are some safety tips to keep in mind while building stairs?
Safety is crucial when building stairs. Always wear protective gear, like safety glasses and gloves, to avoid injuries. Ensure your workspace is clean and organized to prevent accidents. When cutting wood, use the proper tools and techniques; secure the wood in place to avoid shifting. Additionally, double-check all measurements before cutting, and periodically ensure that the structure is stable as you build, especially if you are using it for heavy furniture.
Are there any design options to customize my stairs for home furniture?
Absolutely! There are numerous design options to customize your stairs. You can choose to create floating stairs for a modern look by minimizing visible supports, or opt for a more traditional design with decorative side rails. Incorporating built-in storage under the stairs or adding a non-slip surface to the treads can also enhance functionality and aesthetics. Finally, consider finishing the wood with different stains or paints to match your furniture and decor style.
What materials do I need to build stairs for my home furniture?
To build stairs for your home furniture, you’ll typically need the following materials: plywood or solid wood for the treads and risers, screws or nails for fastening, wood glue for added strength, sandpaper for smoothing surfaces, and finish (stain or paint) for aesthetic purposes. Additionally, you’ll need tools such as a saw (preferably a circular or miter saw), a drill, a level, a tape measure, and possibly clamps. Depending on your design, you might also consider using brackets for additional support. Make sure to measure your furniture height accurately to cut the wood to the right dimensions.
How do you determine the number of stair stringers needed when building deck stairs?
To determine the number of stair stringers needed when building deck stairs, you should start by calculating the total rise and total run of the staircase. Typically, three stringers are used for residential stairs, but more may be needed for wider stairs to ensure stability. The stringers must be spaced evenly, generally about 16 inches apart, depending on the width of the stair treads and local building codes.
What is the importance of the rise and run when designing deck stairs?
The rise and run are crucial for designing deck stairs, as they determine the comfort and safety of each step. The rise is the vertical height of each stair, while the run is the depth of the tread. For most residential stairs, a typical rise per step is around 7.5 inches, and the run is about 10 inches. These measurements help ensure the stairs are easy to navigate and meet building code requirements.
How do you attach the stair stringers to the deck frame?
To attach the stair stringers to the deck frame, first, use joist hangers to secure the top of the stringers to the rim joist of the deck. This ensures that the stringers are held firmly in place. Then, make sure the bottom of the stringers is securely anchored to the ground or a concrete landing pad to provide stability for the entire set of stairs. It is important that the stringers are flush with the deck surface for a seamless transition.
What tools are needed to cut and install deck stair stringers?
To cut and install deck stair stringers, you will need tools such as a circular saw for cutting the stringers, a carpenter’s square to mark the rise and run, a stair gauge to help with accuracy, and a drill for attaching joist hangers. You’ll also need a tape measure to get precise measurements, and possibly a jigsaw to finish cuts in tight corners. Additionally, clamps can be helpful when positioning the stringers before securing them.
How do you ensure the first and remaining stringers are correctly aligned for deck stairs?
To ensure the first and remaining stringers are correctly aligned for deck stairs, start by marking the location of the first stringer at the deck frame and the landing. Once the first stringer is positioned, use it as a template to mark and cut the remaining stringers. Attach the first stringer securely, and then install the remaining stringers, making sure they are evenly spaced and flush with the top and bottom steps for proper alignment and stability.